


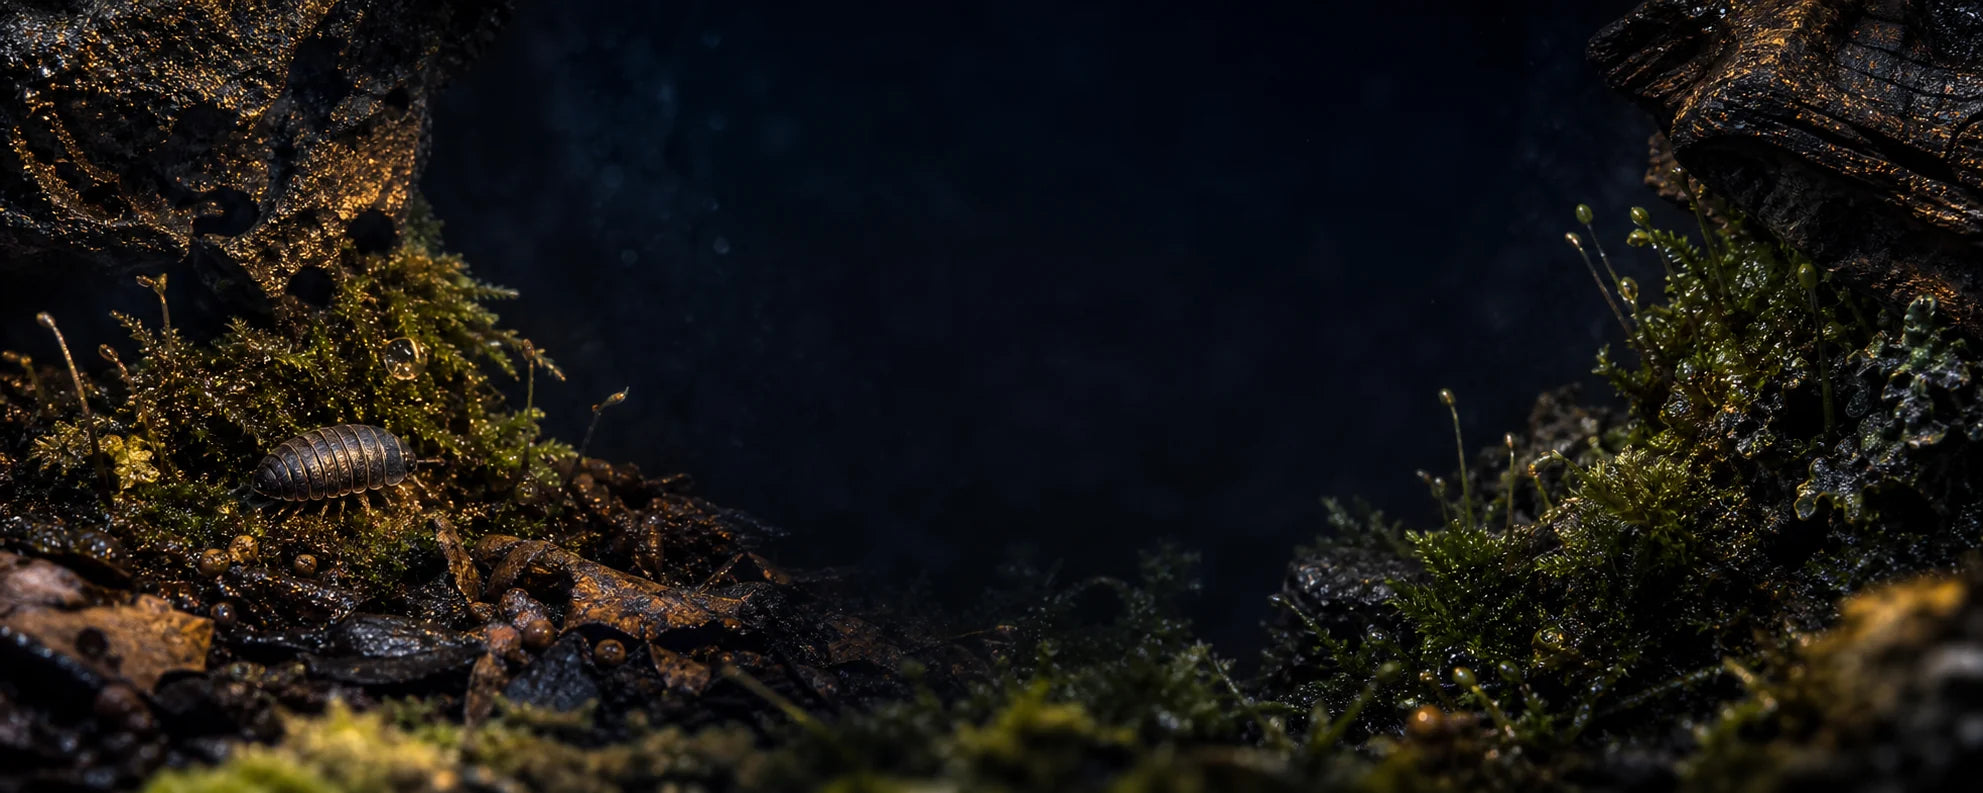
Isopods are forgiving when their enclosure gives them choices. Most beginner problems come from trying to hold the entire habitat at one exact humidity, feeding too much supplemental food, or treating substrate as decoration instead of habitat and food. A reliable setup is less about chasing a perfect number and more about creating several usable microclimates.
The five things every starter colony needs
- A secure, ventilated enclosure. Use a container large enough to create a damp end and a drier end. Ventilation on more than one side helps stale air leave the enclosure.
- Deep, edible substrate. Use an organic mix that holds moisture without turning muddy. Decayed hardwood and decomposing leaves add nutrition as well as structure.
- A moisture gradient. Keep moss and the substrate beneath it consistently damp on one end. Leave the opposite end noticeably drier under leaf litter and bark.
- Permanent leaf litter and calcium. Dried hardwood leaves are a staple food, not decoration. Keep a calcium source available for growth and successful molts.
- Cover. Cork bark, rotten hardwood, and deep leaves create shaded surfaces where the colony can rest, feed, and reproduce.
How to assemble the enclosure
Add enough loose substrate to hold moisture below the surface. Make one end slightly deeper if you want a larger damp refuge. Place a compact patch of sphagnum moss on that end and moisten the moss plus the substrate directly beneath it. Cover most of the remaining surface with hardwood leaves, then add cork bark or rotten wood across the transition between damp and dry areas.
The finished habitat should not feel like a swamp. When you press the damp side, it should feel moist but should not release standing water. The drier side can be dry at the surface while retaining some moisture deeper down. This lets the animals choose what they need during feeding, resting, and molting.
What to feed
Think of leaf litter and decayed wood as the main course. Vegetables, prepared foods, and protein are supplements. Offer a very small portion and increase only when the colony consistently finishes it before it spoils. Remove wet leftovers when they begin to soften or grow mold. Keep calcium available rather than waiting for a problem to appear.
A simple weekly routine
- Touch the substrate beneath the moss. Add water to the damp end if it is beginning to dry.
- Check that the opposite end still feels drier and has fresh airflow.
- Remove spoiled supplemental food and inspect for unusual odors.
- Replace leaf litter before bare substrate becomes widespread.
- Look for young isopods under leaves and bark without turning the entire habitat over.
What not to do
Do not soak the whole enclosure, let it dry completely, rely on misting alone when deeper substrate is dry, or make sudden full-enclosure changes because you saw one patch of mold. Do not mix species simply to save space; different colonies can have different environmental needs, and one species may eventually outcompete another.
New colonies often hide and may eat very little supplemental food. That is not automatically a problem. Give them stable conditions and observe the enclosure over time instead of repeatedly digging for them.
Choose the colony after you understand the setup
Care varies by species. Some need more ventilation, some favor a stronger dry zone, and others reproduce slowly enough that every early loss matters. Read the product-specific care notes before ordering and choose a colony that matches the enclosure you can maintain consistently.
Explore live isopods or start with the supplies in our Care & Nutrition collection.


