


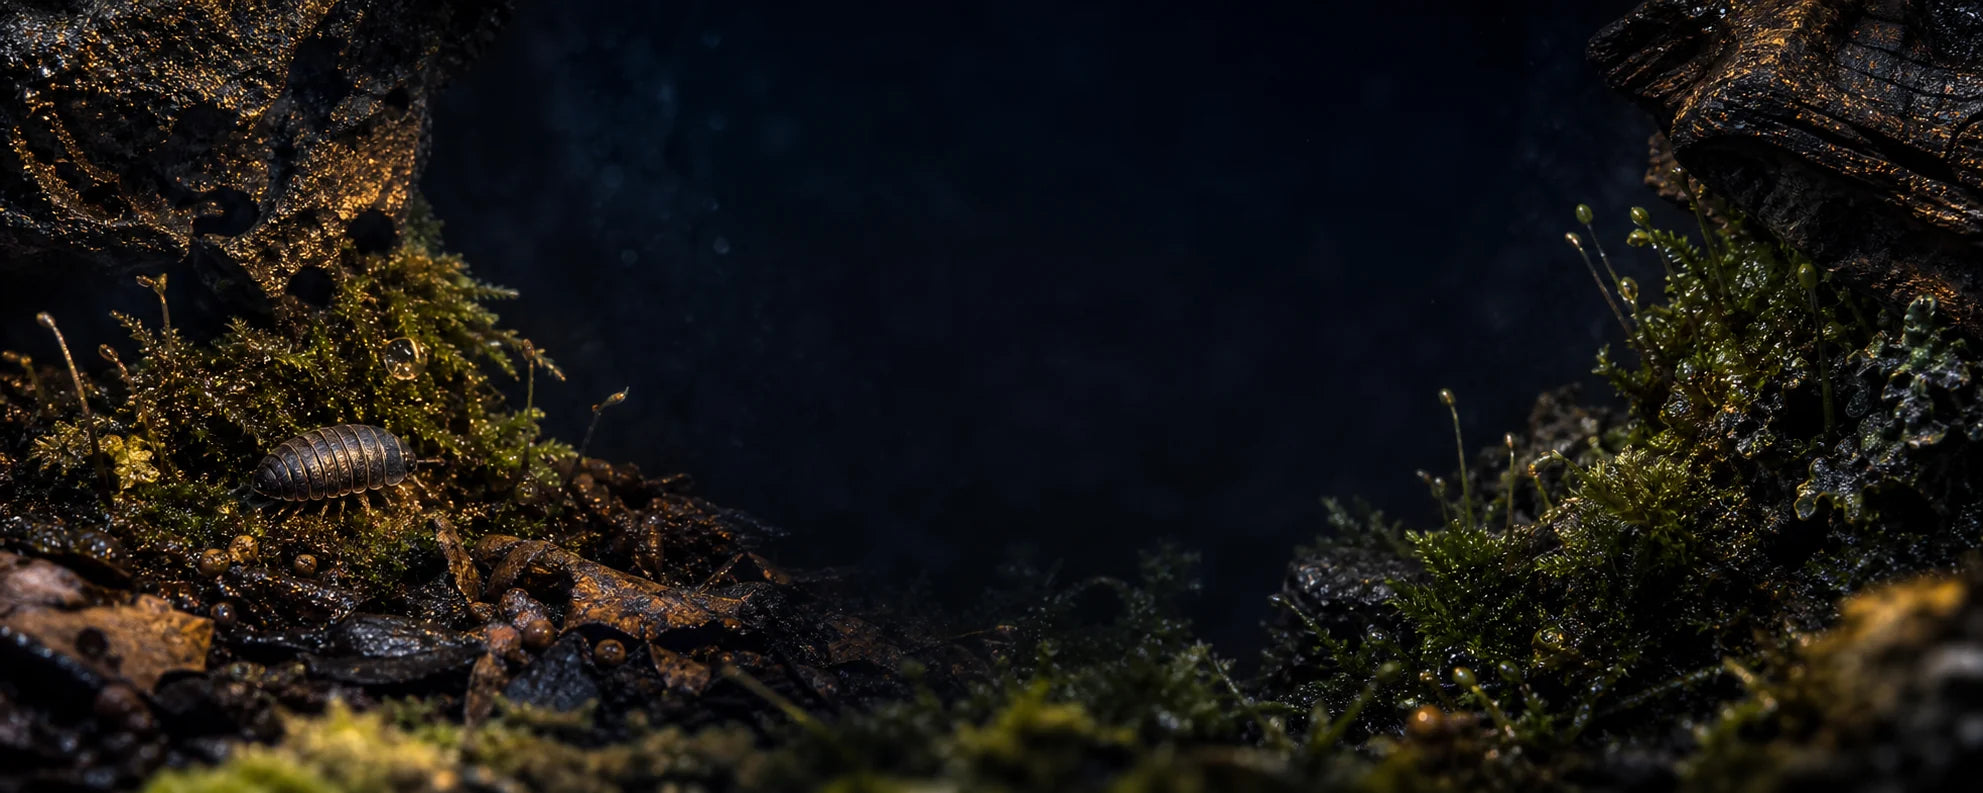
Good isopod photos come from preparation, not keeping an animal under bright light until it finally holds still. Build the scene, test exposure on an empty surface, and bring the subject in only when everything is ready.
Prepare a cool working area
Use a room-temperature surface away from direct sun. Diffuse LED light rather than relying on a hot lamp. Check the surface with your hand and a thermometer when equipment is close.
Keep the session short
Photograph one animal at a time and return it promptly. If it repeatedly runs, curls defensively, or searches for cover, pause instead of adding more light or handling.
Use habitat materials as the set
A damp leaf, bark surface, or shallow dish provides grip and a familiar texture. Keep a soft paintbrush or leaf edge available for guidance; avoid pinching legs or antennae.
Improve results without longer exposure
- Use a stable camera support.
- Focus manually on the eyes or front edge.
- Shoot bursts instead of waiting for a perfect pose.
- Crop afterward rather than placing the lens dangerously close.
- Keep a shaded recovery cup beside the set.
Quick checklist
- Exposure tested before animal arrives
- Cool diffused light
- Recovery cup ready
- Session stopped at stress signs
Return photographed animals to a stable habitat built from Care & Nutrition supplies.


